A shower filter is essential for providing clean, safe water by removing impurities like chlorine, heavy metals, and sediment. Over time, the filter cartridge can become clogged, reducing its effectiveness. To maintain water quality and extend the life of your shower filter, it’s important to replace the cartridge regularly. This guide will walk you through the process step by step.
When Should You Replace Your Shower Filter Cartridge?
Most shower filter cartridges should be replaced every 3 to 6 months, depending on water quality, usage frequency, and filter type. Watch for these signs that indicate a replacement is needed:
- Reduced Water Pressure – A clogged filter restricts water flow.
- Unpleasant Odor – Strong chlorine or metallic smells suggest the filter is no longer effective.
- Skin and Hair Issues – Dry, irritated skin or dull, brittle hair can indicate an ineffective filter.
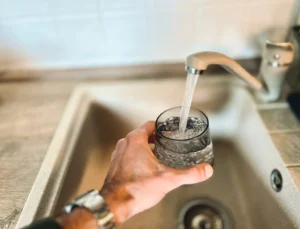
- Visible Sediment – Discoloration or particles in your water mean it’s time to change the cartridge.
Step-by-Step Guide to Replacing Your Shower Filter Cartridge
Replacing your cartridge is quick and simple. Here’s how:
Step 1: Turn Off the Water Supply
Shut off the water to prevent leaks. If your shower head is detachable, remove it for easier access.
Step 2: Unscrew the Filter Housing
Locate the filter housing between the showerhead and pipe. Twist it counterclockwise by hand. Use a wrench if it’s tight.
Step 3: Remove the Old Cartridge
Carefully take out the old cartridge. If it’s stuck, gently shake the housing or use a cloth for grip.
Step 4: Clean the Filter Housing
Rinse the inside of the housing with clean water to remove debris. Wipe with a damp cloth for optimal performance.
Step 5: Insert the New Filter Cartridge
Place the new cartridge inside the housing, ensuring proper alignment. Follow directional arrows if present.
Step 6: Reattach the Filter Housing
Screw the housing back onto the showerhead or pipe. Tighten by hand, avoiding over-tightening to prevent leaks.
Step 7: Flush the New Filter
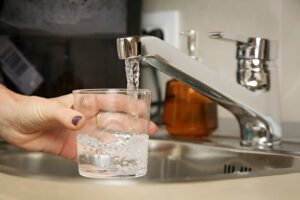
Turn on the water for 2–5 minutes to flush out any loose carbon particles or residues. Your water is now clean and ready for use.
Benefits of Regularly Changing Your Shower Filter Cartridge
- Healthier Skin & Hair – Removes harsh chemicals, preventing dryness and irritation.
- Better Water Quality – Reduces chlorine, heavy metals, and sediment for a cleaner shower.
- Extended Showerhead Life – Prevents mineral buildup that can clog pipes and fixtures.
- Improved Air Quality – Reduces chlorine vapors, promoting a healthier bathroom environment.
Why Choose Blue Oasis Shower Filter?
Blue Oasis Shower Filter offers premium filters designed to enhance your shower experience in Saudi Arabia. Our advanced multi-stage filtration system removes chlorine, heavy metals, and other contaminants. The easy-to-replace cartridge system ensures long-lasting performance, delivering clean and refreshing water for your family.
Final Thoughts
Replacing your shower filter cartridge every 3–6 months is essential for maintaining water quality and protecting your skin and hair. Follow this simple guide to ensure a smooth cartridge replacement, and trust Blue Oasis Shower Filter for the best filtration solutions in Saudi Arabia.